The Absolute Beginner’s Guide on How To Start a Successful Blog: Customize Your Blog
So far, you have read how to start your own blog, and what plug-ins to use, but now it is time for some more superficial things. In this installment, we’ll tell you how you can customize your WordPress blog and make it your own, reflecting your own ideas and supporting your content.
One of the instances why WordPress is so popular, is the huge amount of themes that are available. If you are like me, you don’t want to have a generic design, but you also don’t know a thing about coding, so making a design from scratch is out of the question. However, tweaking some existing theme is much easier than you think. Choosing a design can be the most fun and most time consuming process, because you’ll have a huge amount to choose from. So now it is time for some window shopping.
Choosing a Template
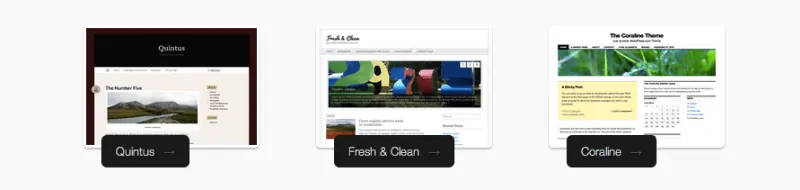
To help you choose, WordPress will categorize themes randomly, alphabetically, by popularity or how recently they were added. Even more helpful is “Feature Filter”. There you can filter your search with color, number of columns, width and several other features. After you’ve set your criteria, click on “Apply Filters” and anything that falls under your description will appear.
After you find theme that speaks to you, click on “Preview” to pop up a window that will show you the template in all its glory. After that, you can “Activate” the theme, or you can click ”x” to close the preview and continue the search. After you’ve made your choice it is time for customization.
Tweaking and Adjustment
A lot of themes have customization options so you can make your pop out among other users that are using the same theme. Usually, you can customize theheader image, background, color scheme and more. You just click “Appearances” and select the part you want to modify. Lets start with header.
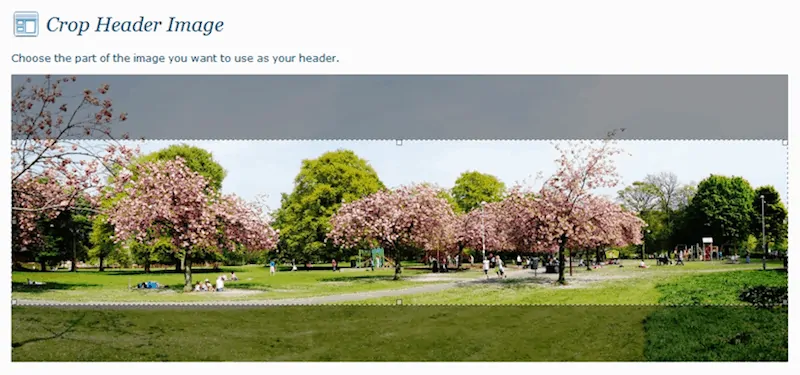
You can choose from the pool of pre-installed images and click on “Save Changes” or you can upload your own image. If your image is bigger than your header, don’t worry, you’ll be able to crop it by selecting the portion of image that you would like to use and simply clicking on “Crop and Publish”. Header is also the place for your blog’s name and tagline, but if you don’t want it displayed over your pretty picture, you can unselect the box for “Header text”.
For your background you can go simple and choose background color by selecting it form color wheel, or typing hexadecimal value of your desired color. You can also upload your picture and select its position (left, center, right), will it repeat (horizontally, vertically, both or not at all) and if you want it fixed, or scroll it with the content. If you are neither one color or background image person, you can try some of the subtle patterns.
In The End
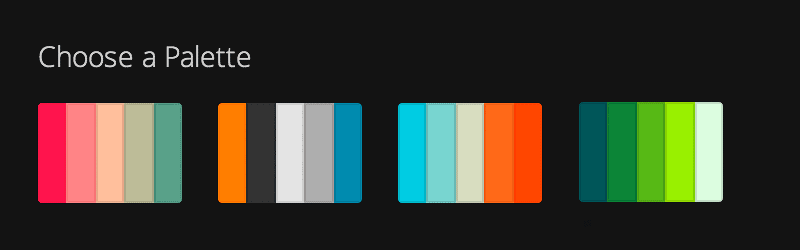
Colors panel has intelligent tools, so you can pick one of already suggested palettes, but you can also tweak them too. If you are not sure what colors to pick, it will suggest you which ones will go best with your design. And last, but not least, don’t forget to pick your fonts.
Not all themes will contain these customization options, and you cannot edit the CSS of your theme for free. However, with Custom Design upgrade, for $30.00 a year, you will have access to all of these, including the option to tweak CSS code if you become a more advanced user.
So what are you waiting for? Release your inner blog designer and customize away!